Cloud:IaaS:3CX: Difference between revisions
From VTX Public Wiki
(→Installation of 3CX Custom Debian ISO: Rename the title) |
m (→Installation of 3CX system on VTXCloud IaaS: Updated title) |
||
| Line 1: | Line 1: | ||
= Installation of 3CX system on VTXCloud IaaS = |
= Installation of 3CX system on VTXCloud IaaS/Managed Cloud Server = |
||
== Installation of the custom Debian ISO == |
== Installation of the custom Debian ISO == |
||
Revision as of 14:01, 12 October 2021
Installation of 3CX system on VTXCloud IaaS/Managed Cloud Server[edit | edit source]
Installation of the custom Debian ISO[edit | edit source]
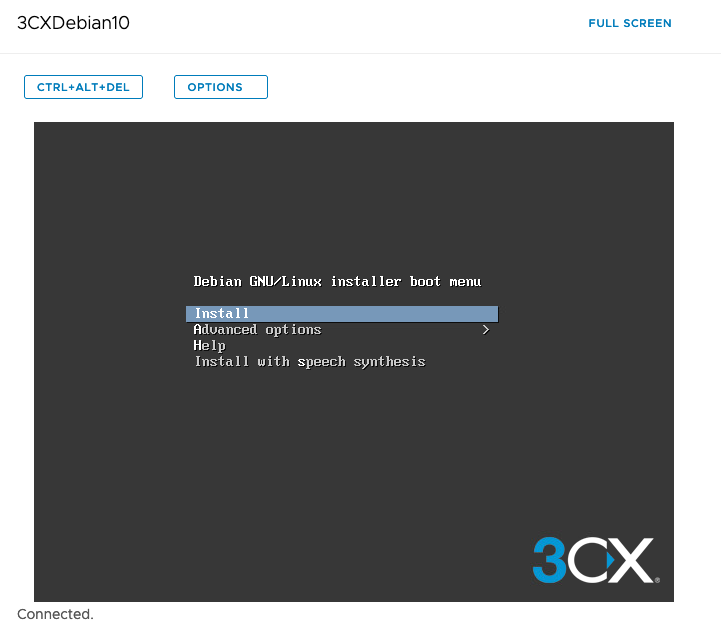
Press Enter when you are on « Install »
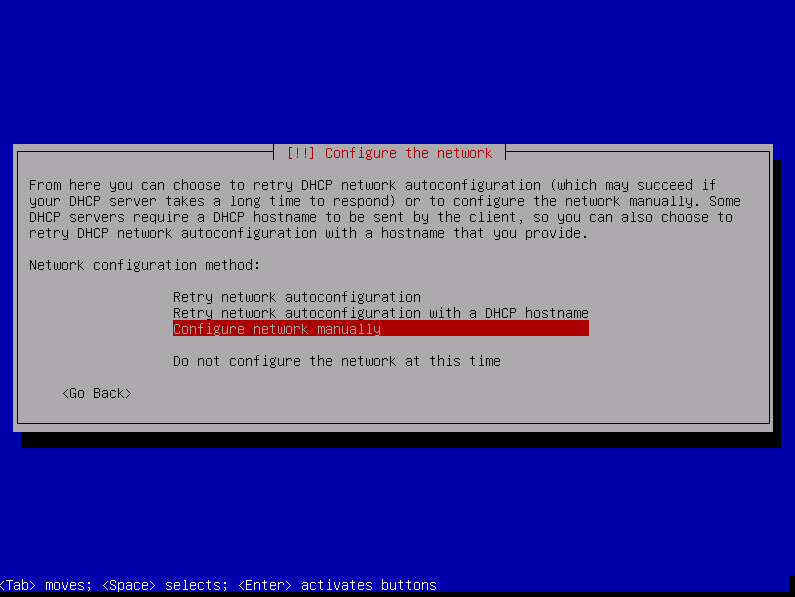
First you will start with the network configuration. In our case we will select « Configure network manually »
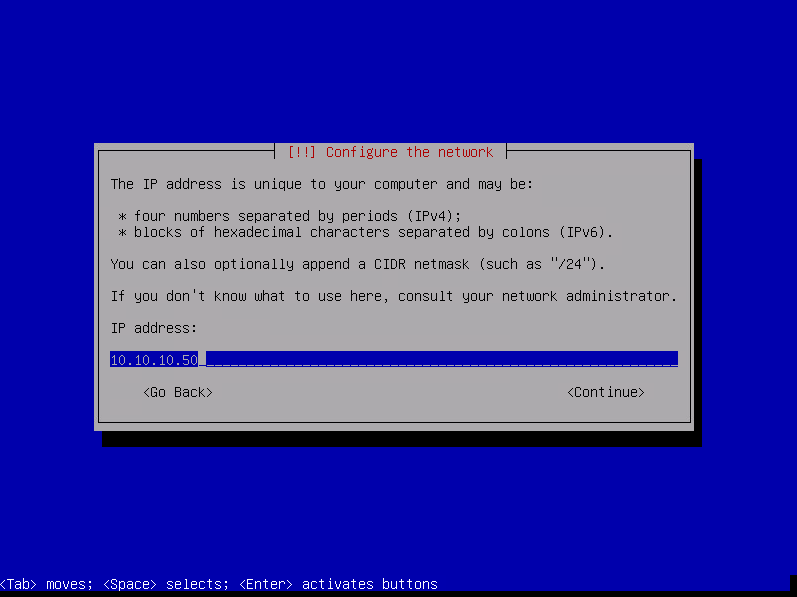
Enter the IP then select « Continue » and press enter.
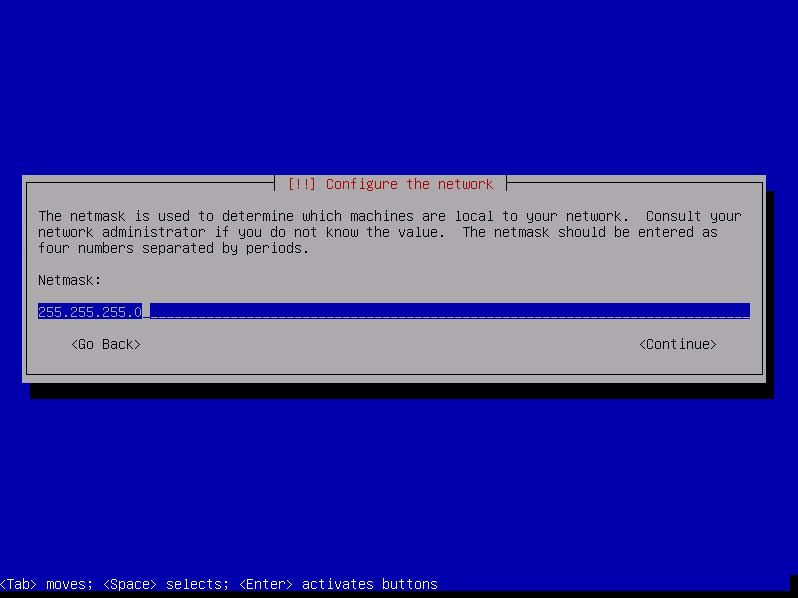
Fill netmask then select « Continue » and press enter.
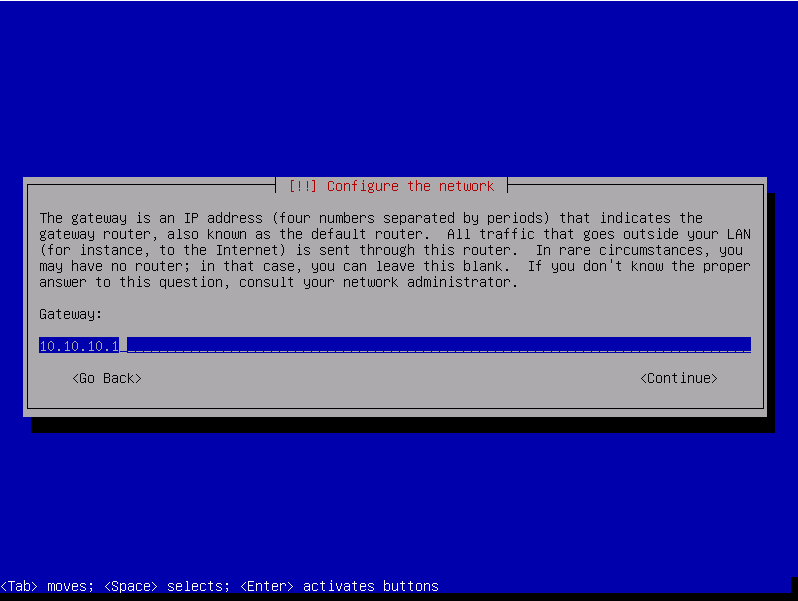
Fill gateway then select « Continue » and press enter.
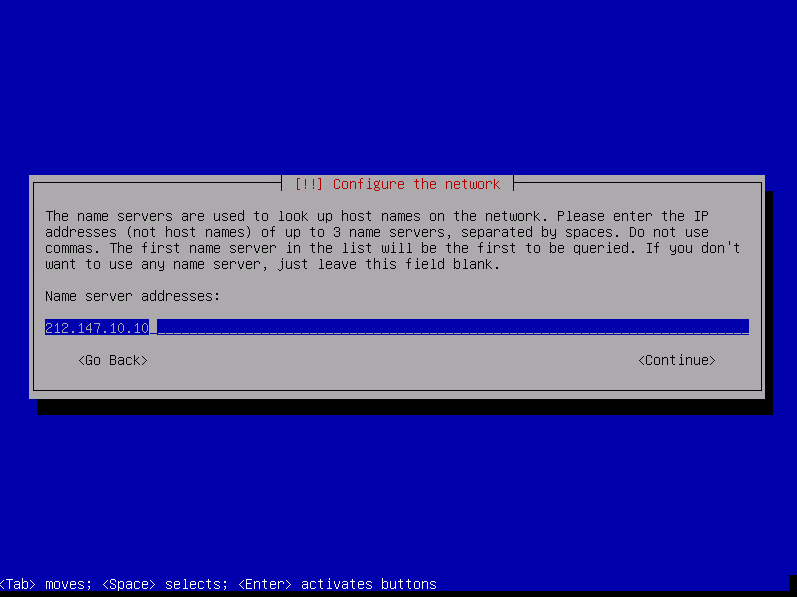
Fill name server addresses then select « Continue » and press enter.
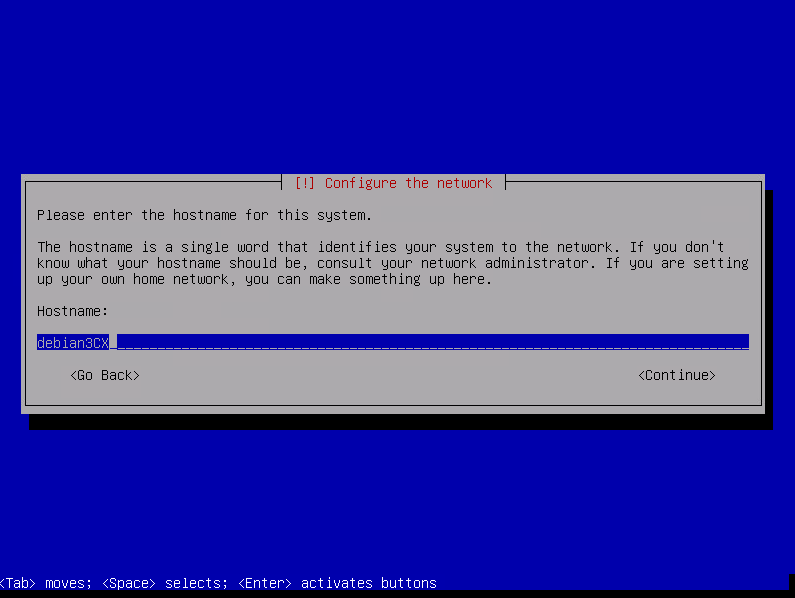
Fill hostname then select « Continue » and press enter.
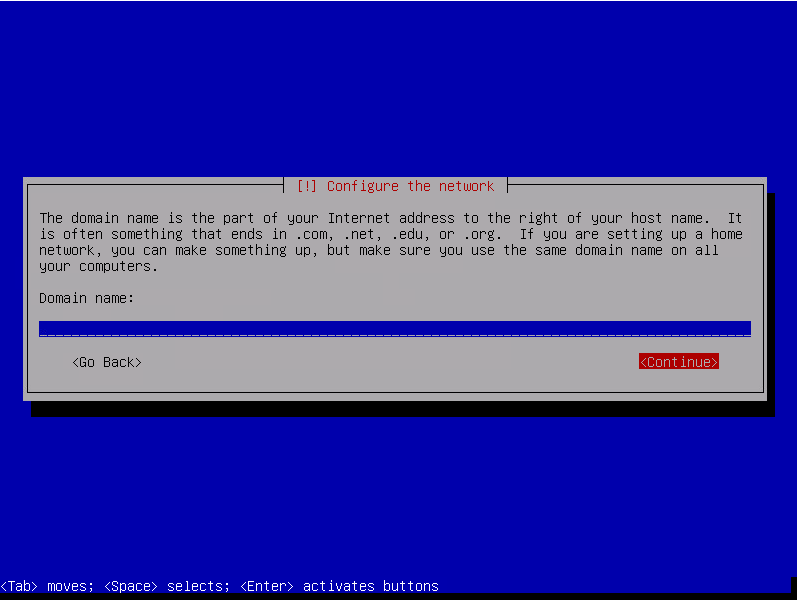
Fill domain name then select « Continue » and press enter.
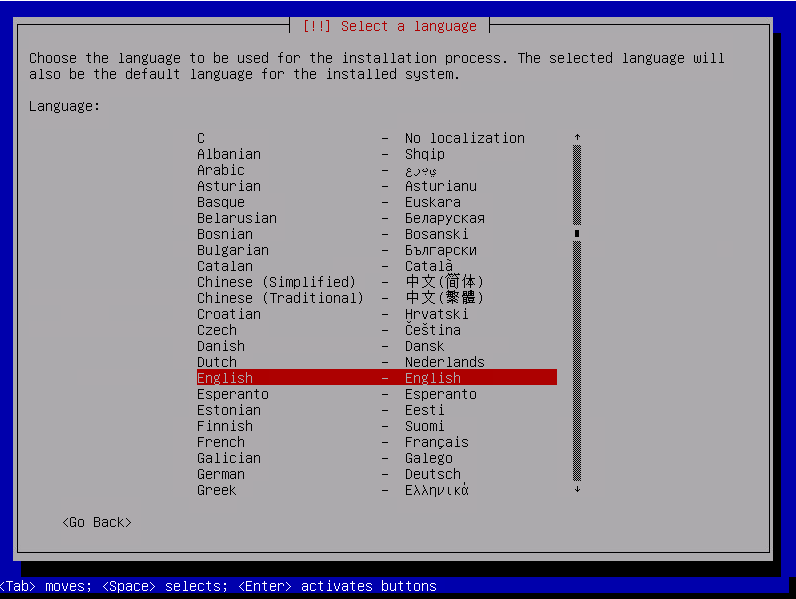
Choose language and press enter.
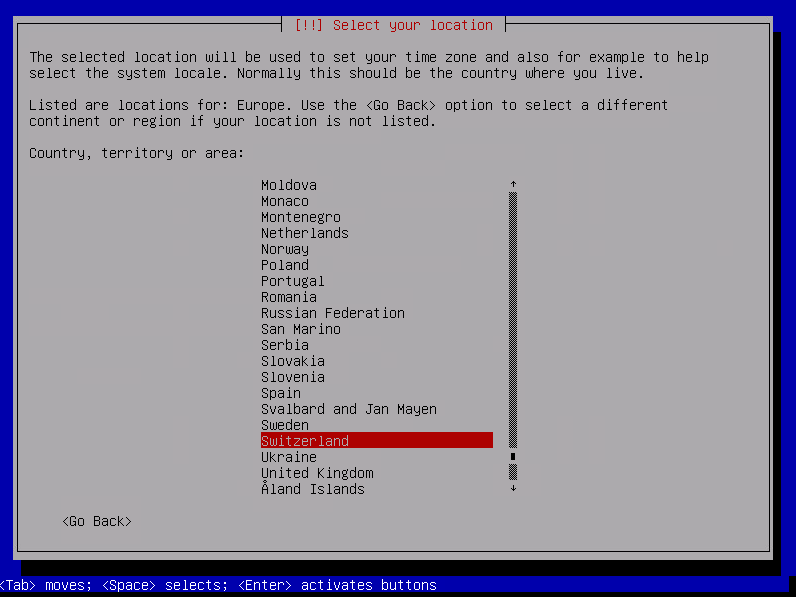
Choose the location, go to « other », « Europe » then « Switzerland »
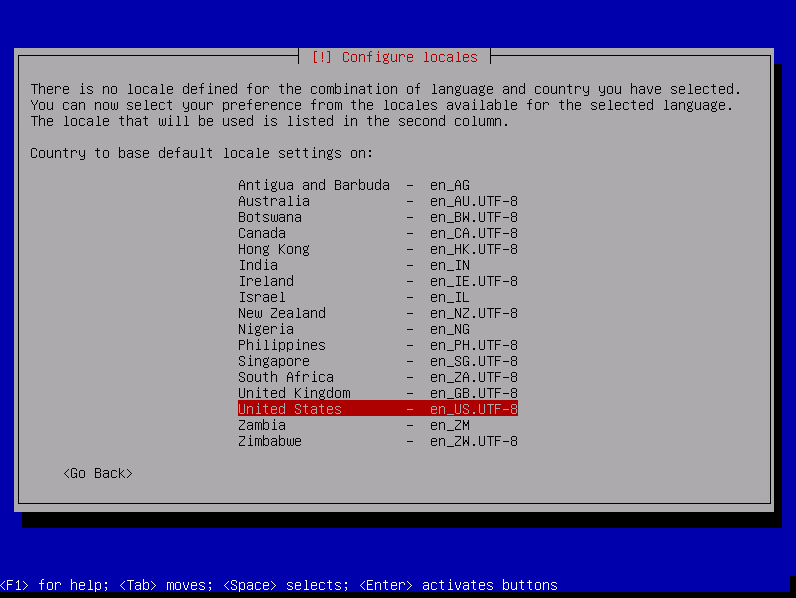
Choose your locales, by default en_US.UTF-8
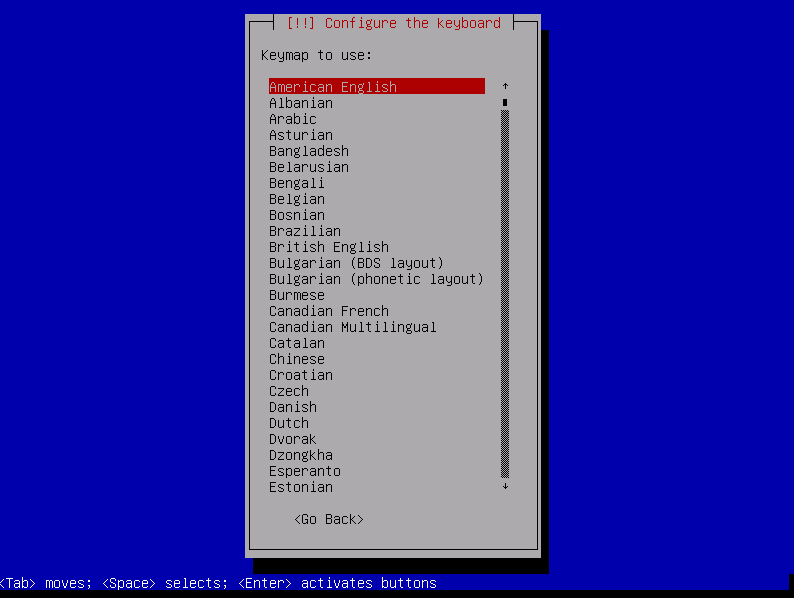
Choose your keyboard layout, in our case « Swiss french ».
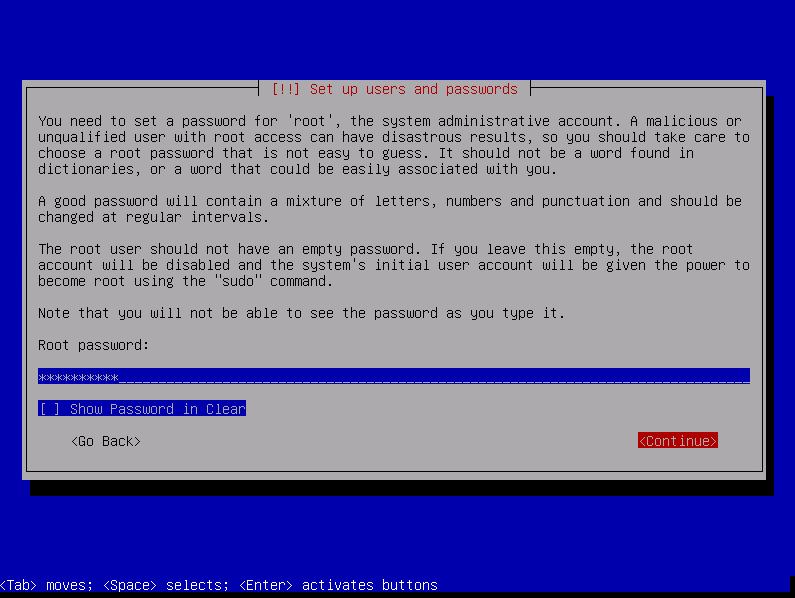
Create the root password
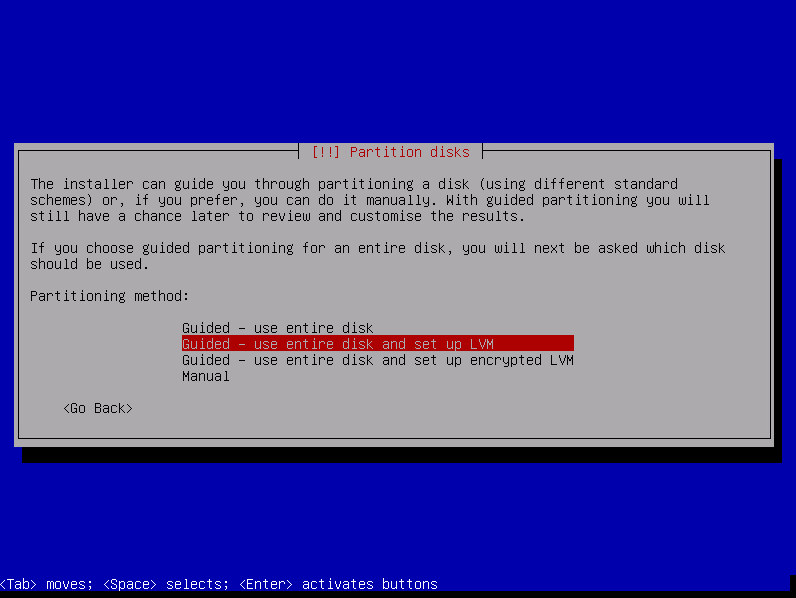
Choose partitioning method, we will choose « Guided - use entire disk and set up LVM »
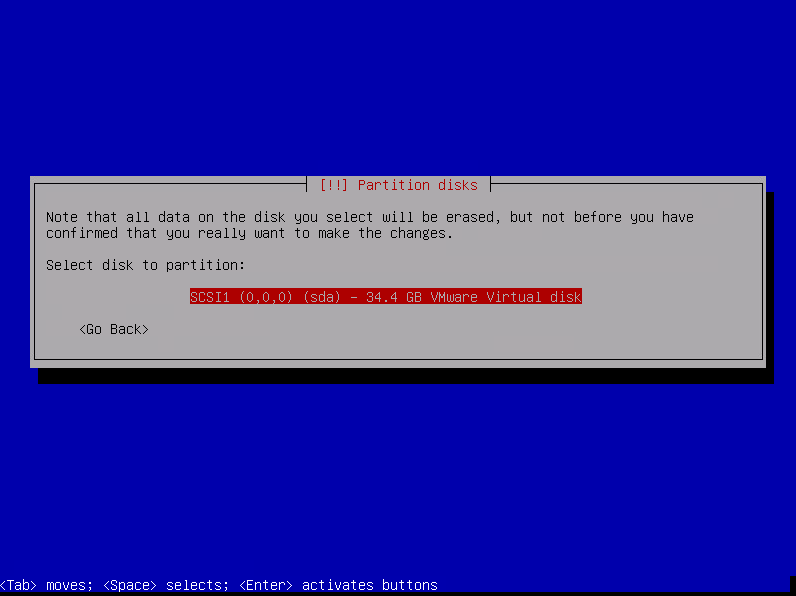
Select the disk to partition then press enter.
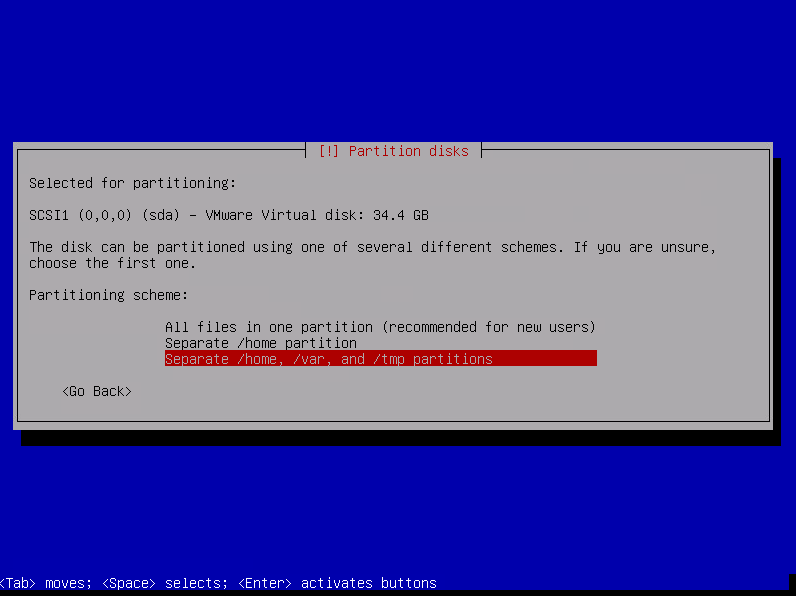
Choose the partitioning scheme « Separate /home, /var, and /tmp partitions » and press enter
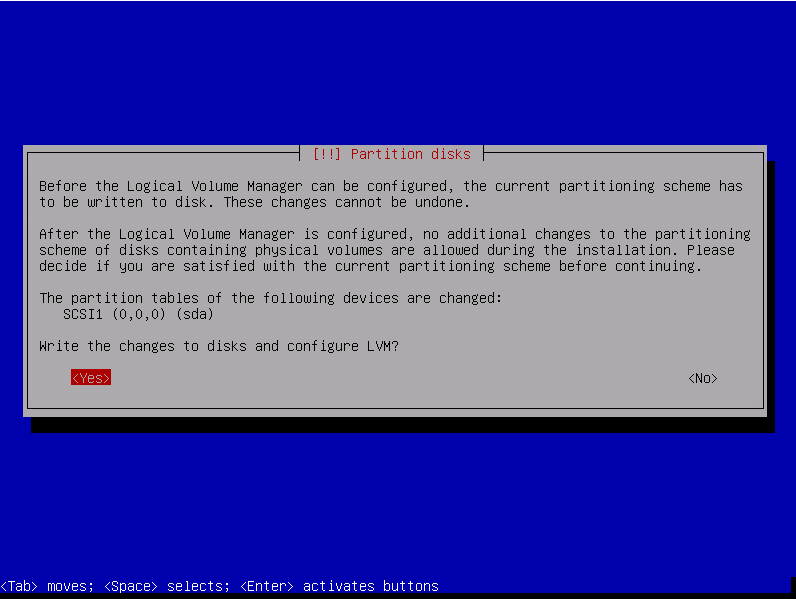
Select YES to write changes to disks and confirm with enter
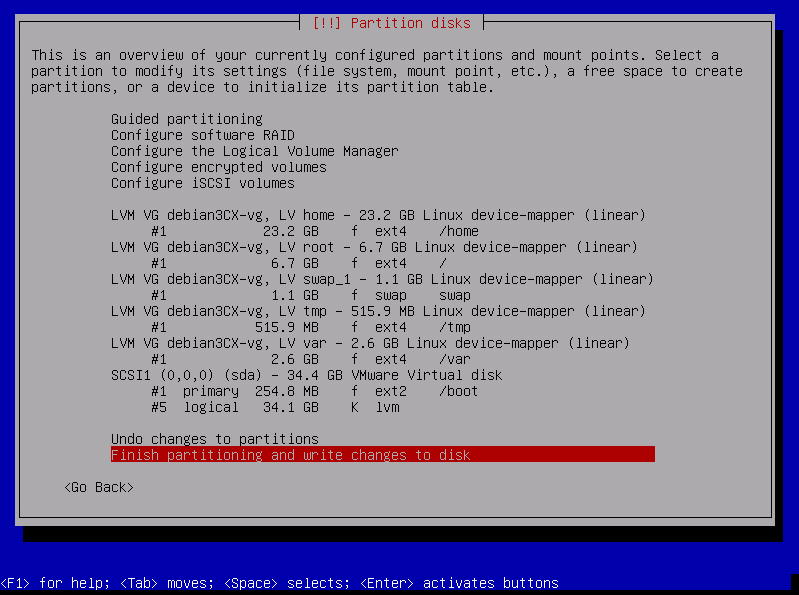
Review the partitioning then select « Finish partitioning and write changes to disk » then press enter
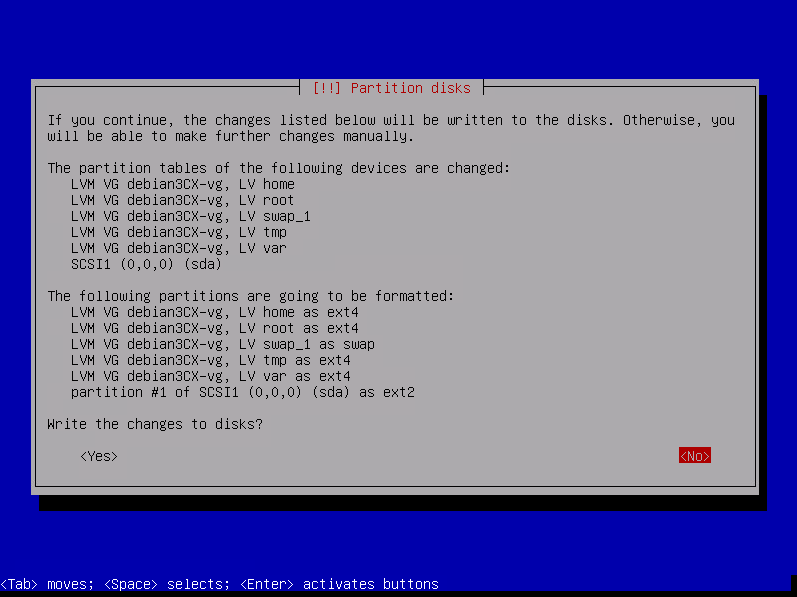
Confirm the writes by selecting « YES » then press enter
The system will install all components then reboot automaticaly.
Configuration of the 3CX system[edit | edit source]
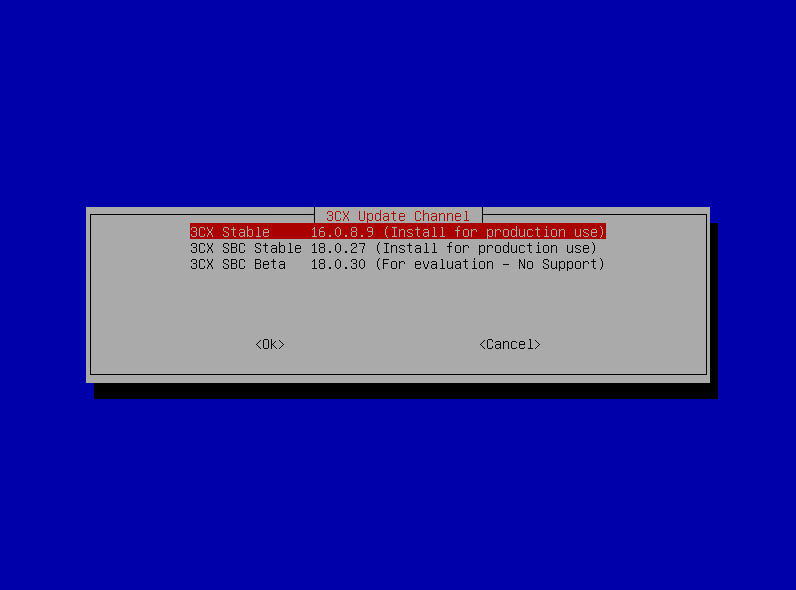
After the reboot you will need to select « 3CX Stable X.X.X.X (Install for production use) and press enter
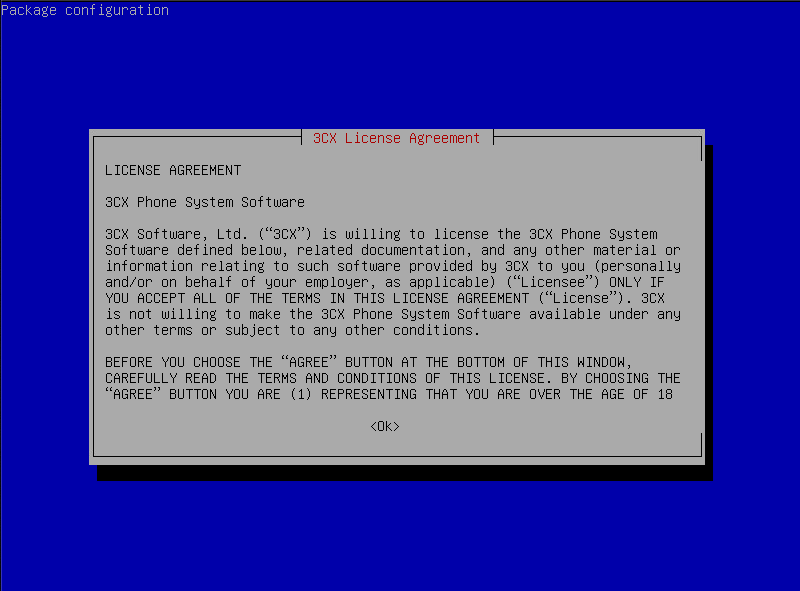
After installation you need to accept the 3CX License Agreement.
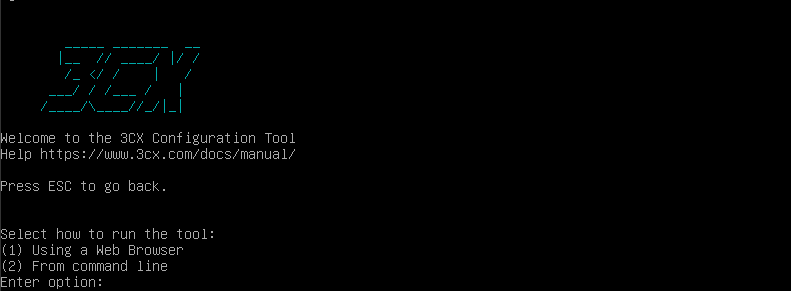
After that the system will reboot into 3CX Configuration Tool.
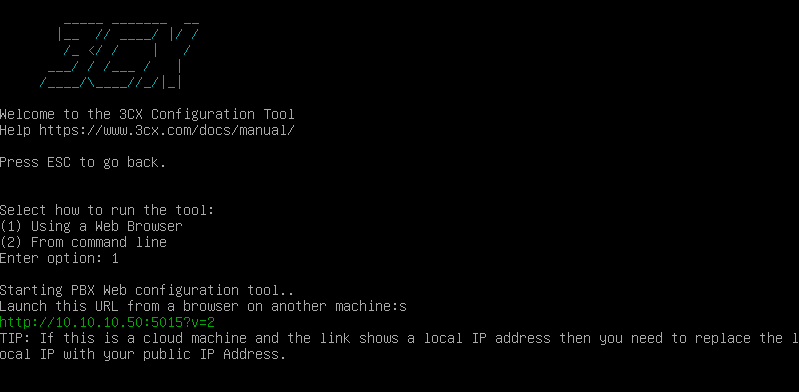
Choose option "1"
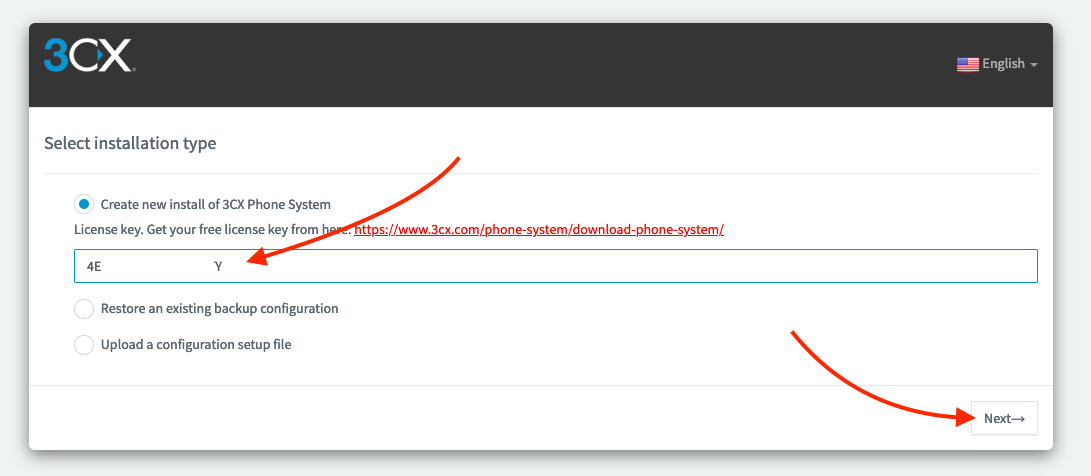
Go to the webpage YOURIP:5015 Then choose the installation type. In our case « Create new install of 3CX Phone System ». Enter the licence key then click « Next ».
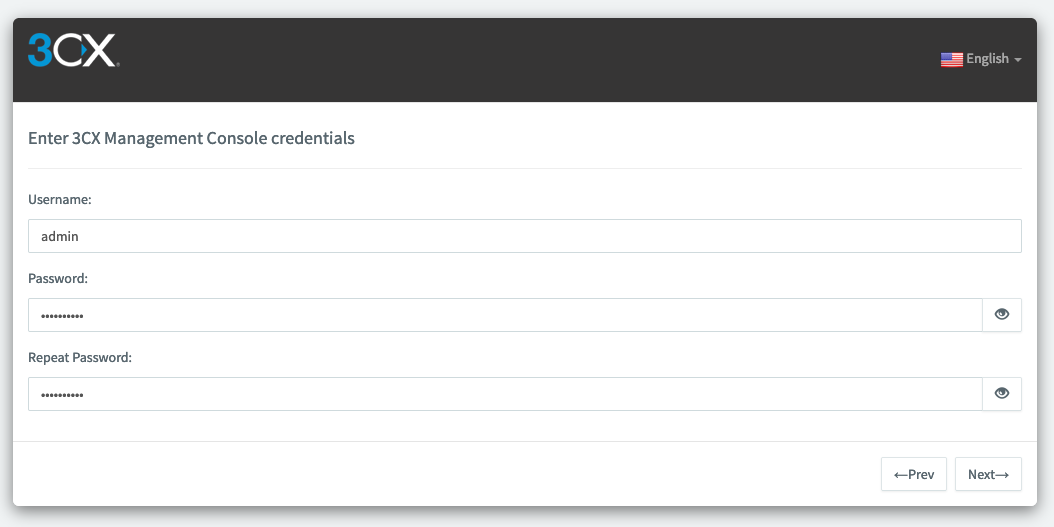
Then create the credentials for your 3CX Management Console then click on « Next »
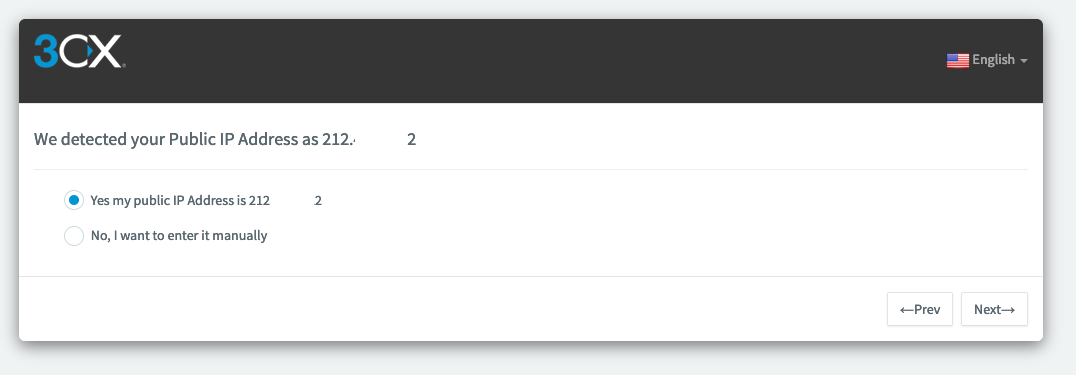
Then the tool will detect your public IP (if it is not correct choose « No, i want to enter it manually ») then click on « Next »
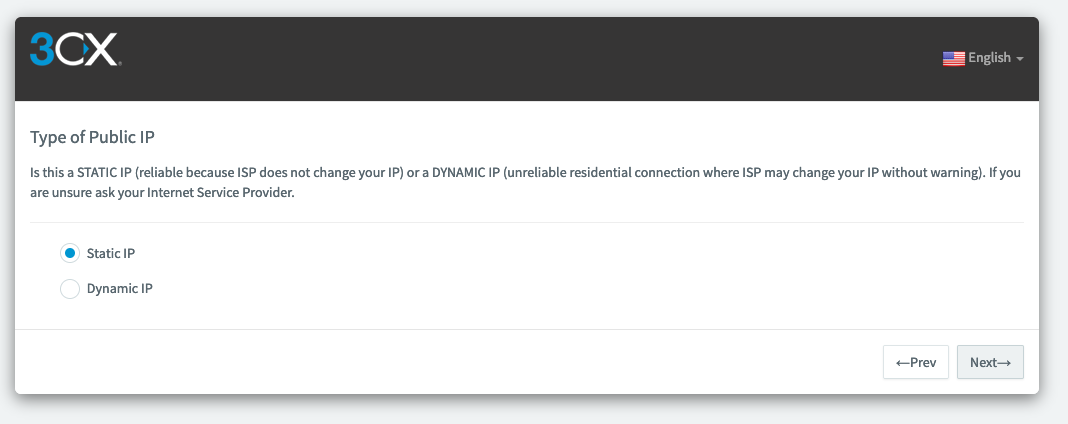
Then choose your type of Public IP and click on « Next »
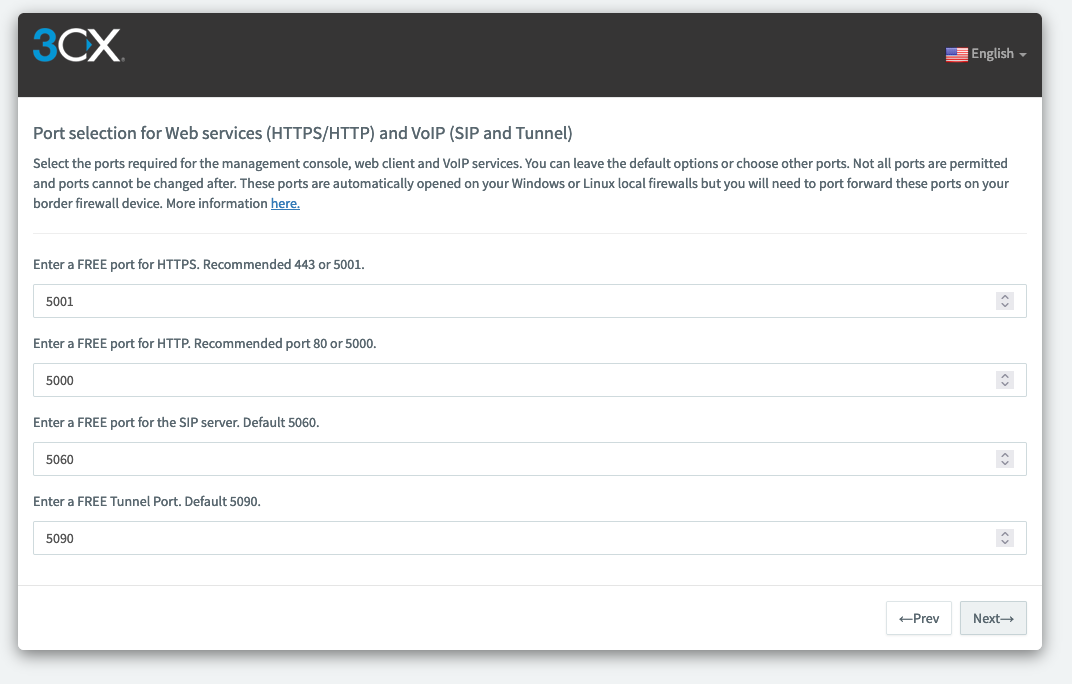
Then let by default all ports configuration
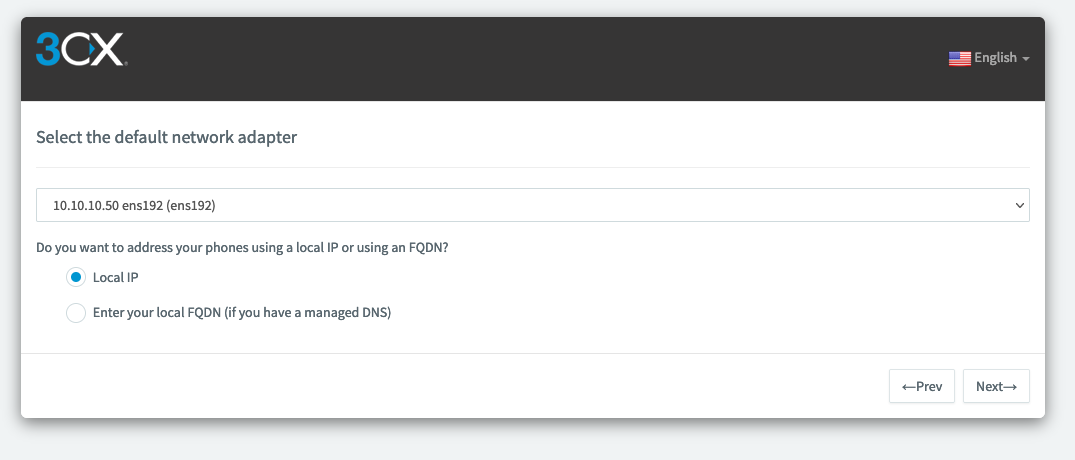
Select the right network adapter
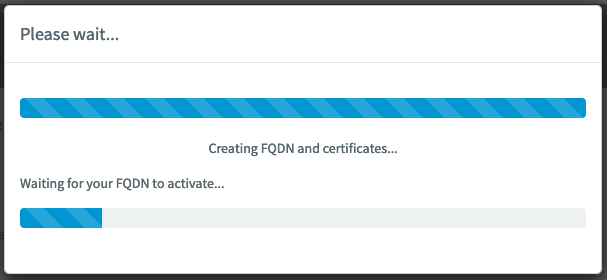
Wait until everything is automaticaly configured.
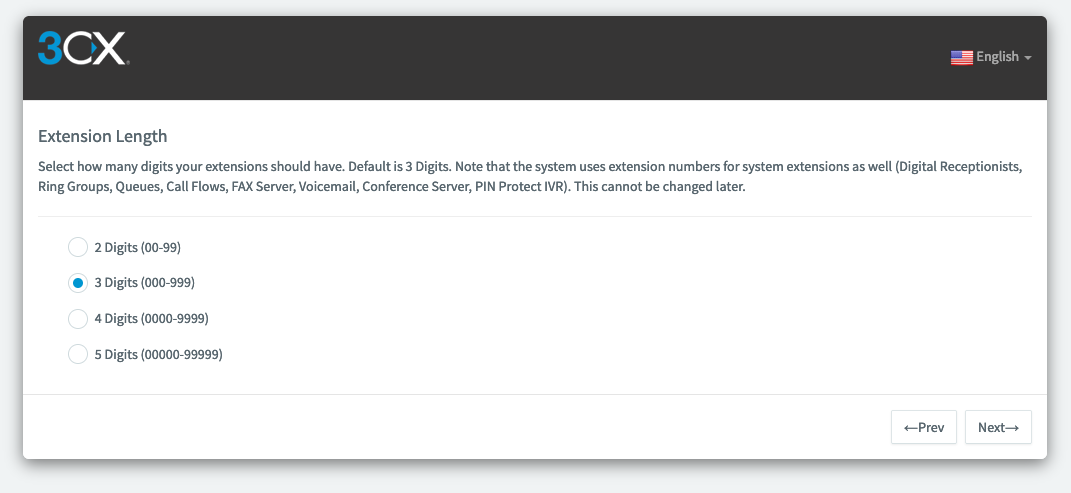
Choose the extension length, in our case "3 Digits"
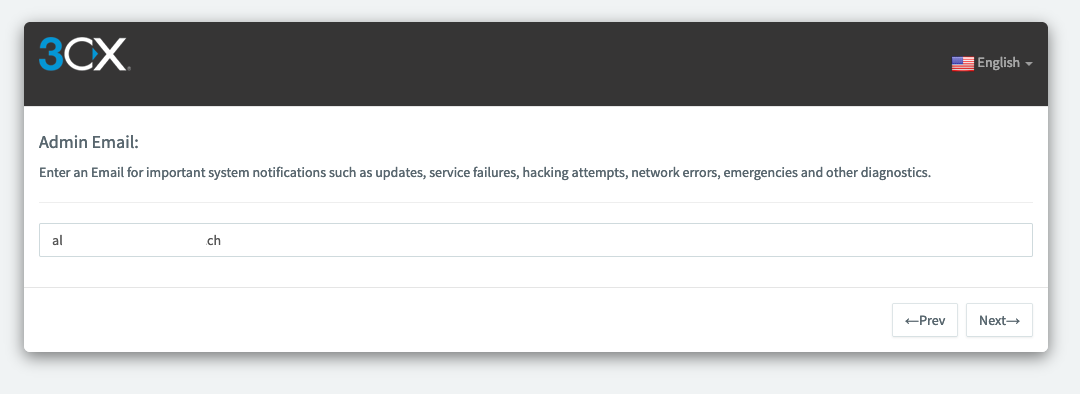
Then enter your admin email address and click on « Next »
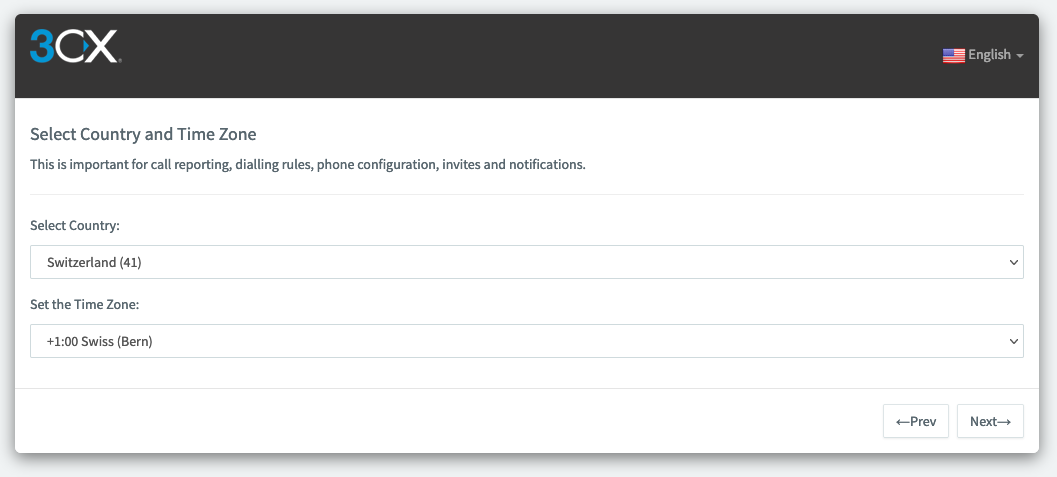
Choose your Country and Time Zone then click on « Next »
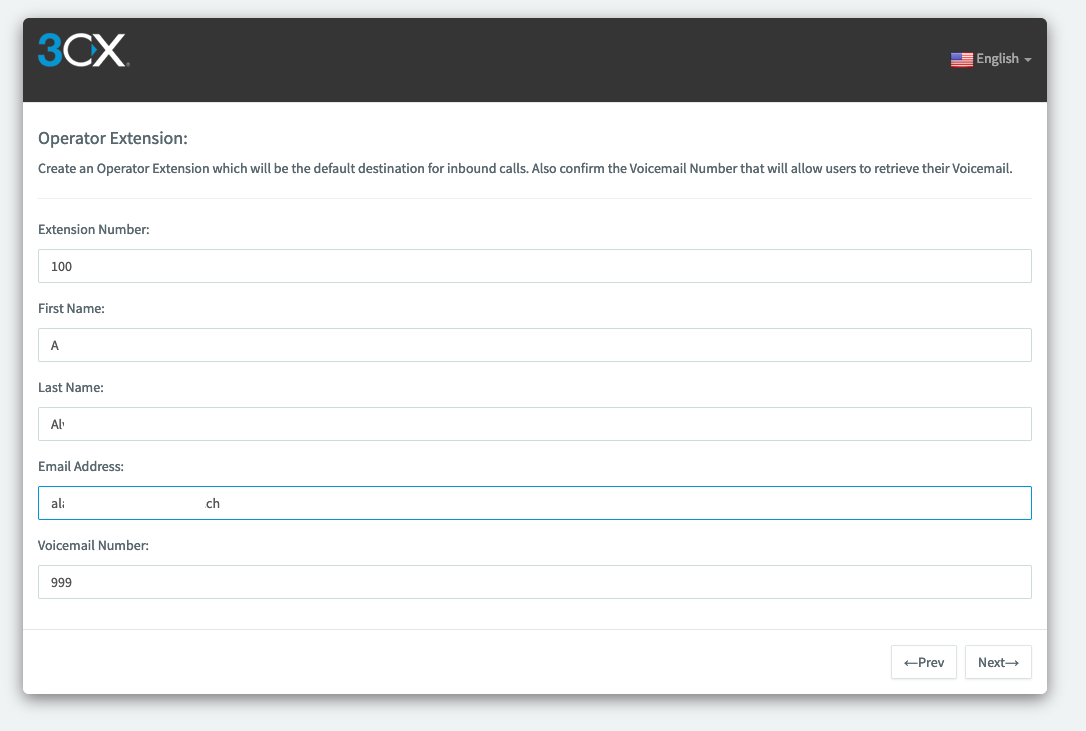
Create the Operator extension
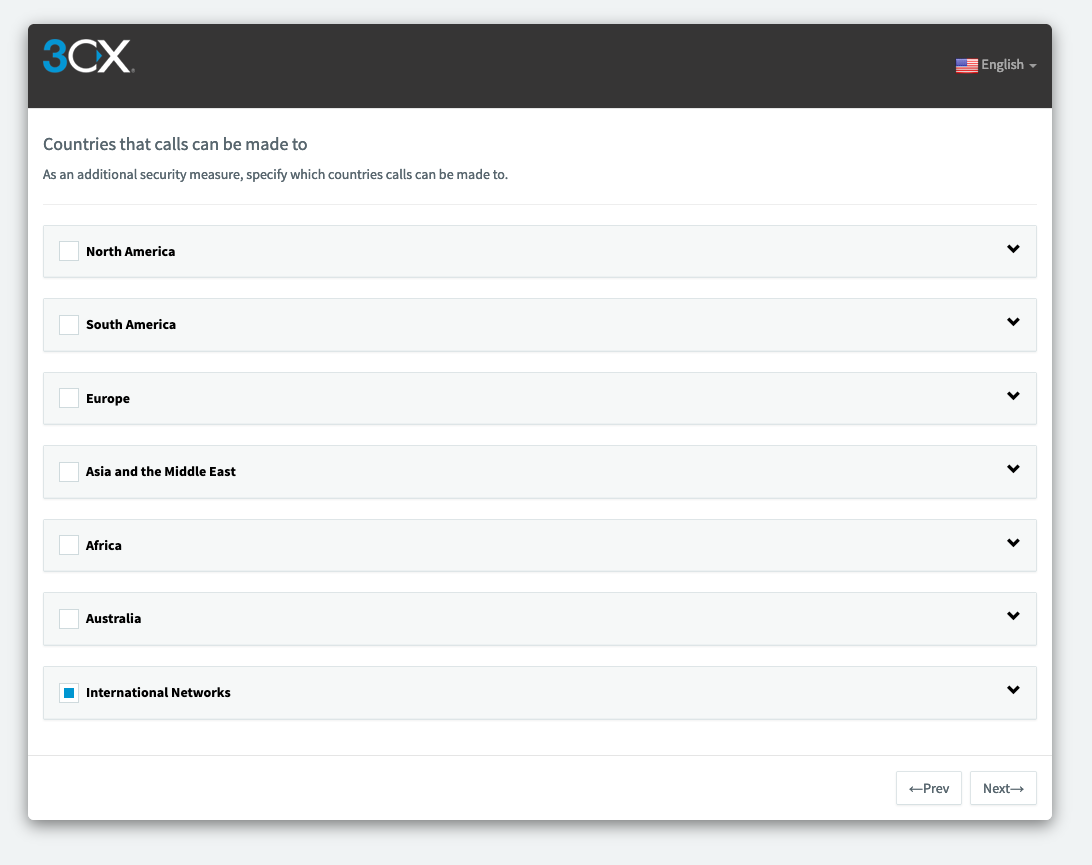
Choose « International Networks » then click on « Next »
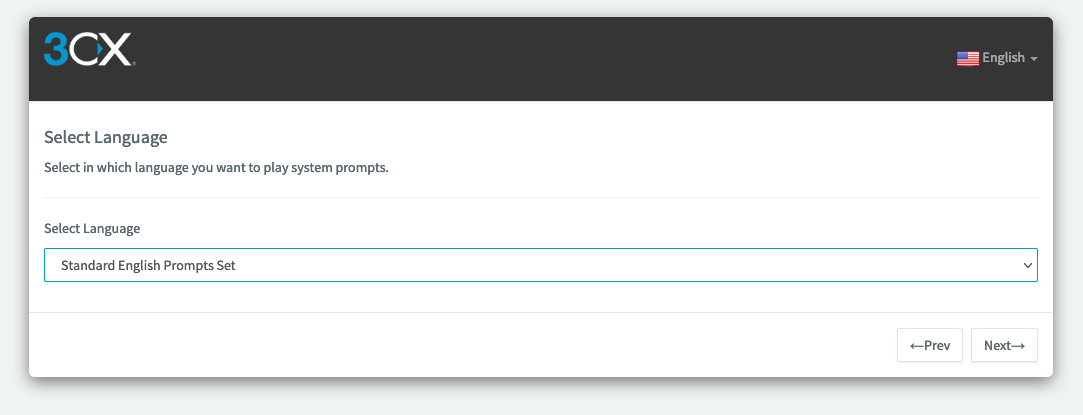
Select the language of the trunk.
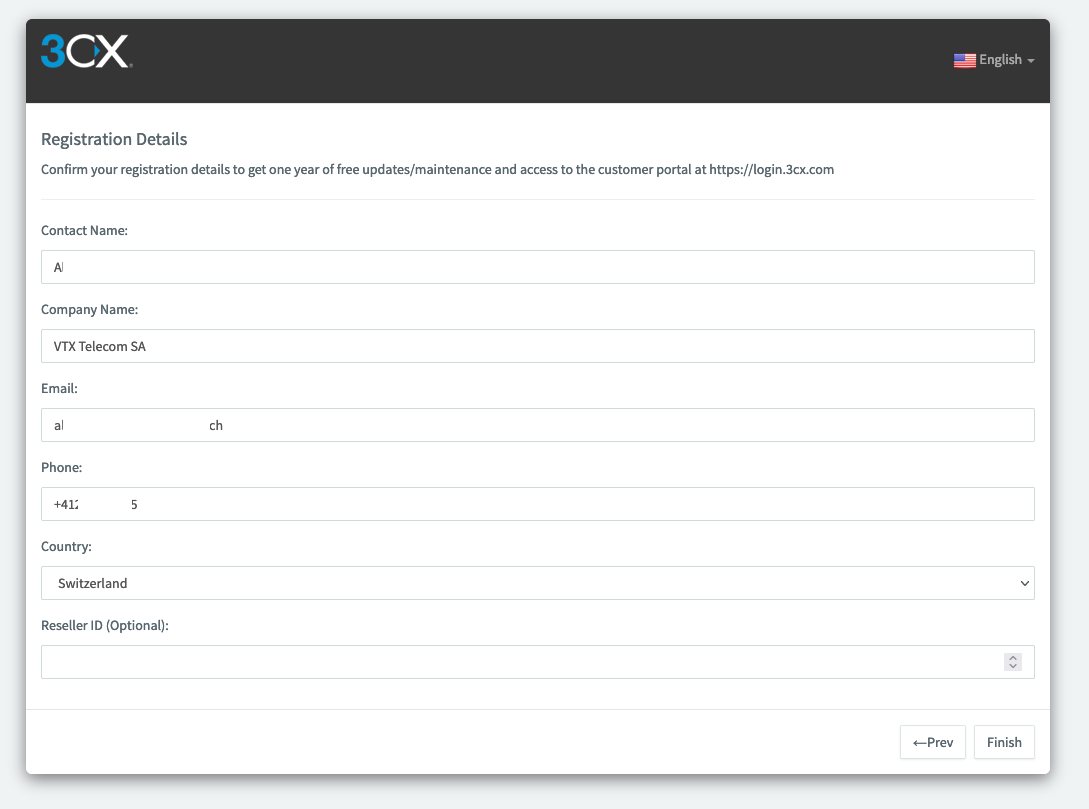
Confirm the registration details at 3CX and click « Finish »
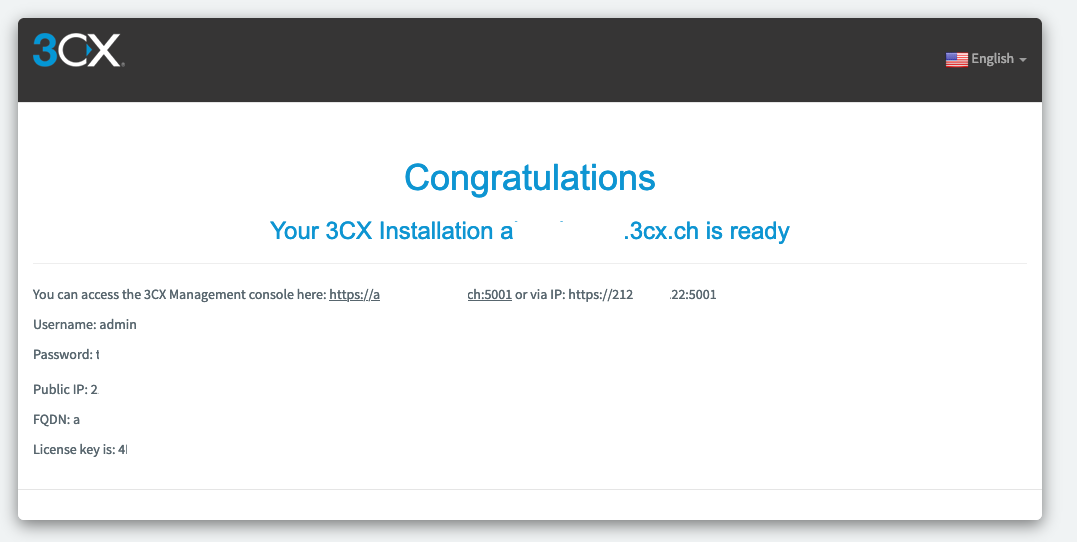
Then you will see this confirmation of the 3CX installation with all useful information

